[Tips]How to get capture including mouse cursor
GOAL
To take screenshot with mouse cursor in Windows10 as below.
Environment
Windows10
Method1 Steps Recorder
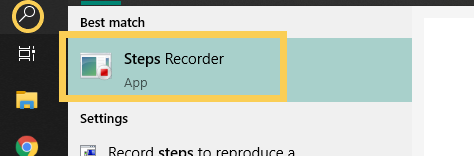
1. Search the application “Steps Recorder” and start it.
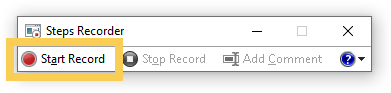
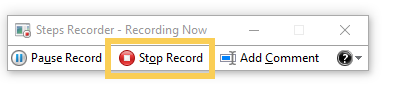
2. Start Record
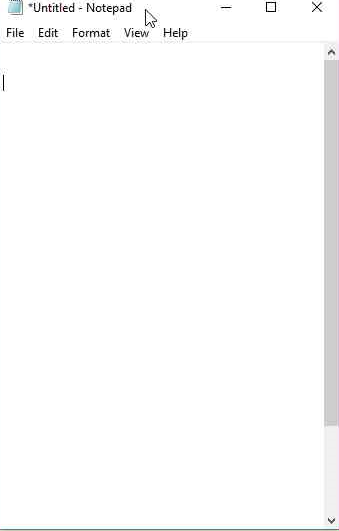
3. Move cursor to the position to capture and click
4. Stop Record
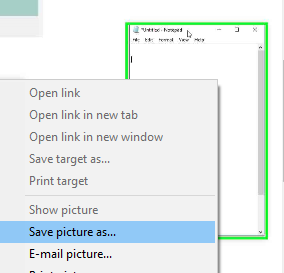
5. Save the result
Right-click on the result image, and click “Save picture as…”
Method2 Magnifier
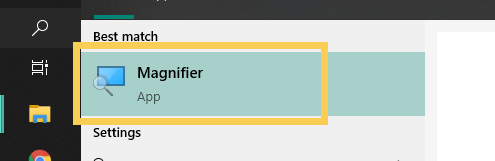
1. Search the application “Magnifier” and start it.
2. Set the view “Docked” and resize the window
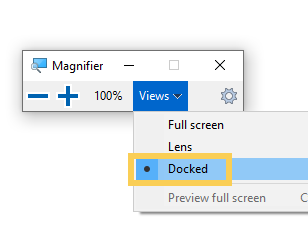
Resize the Magnifier window by dragging the corner of a window.
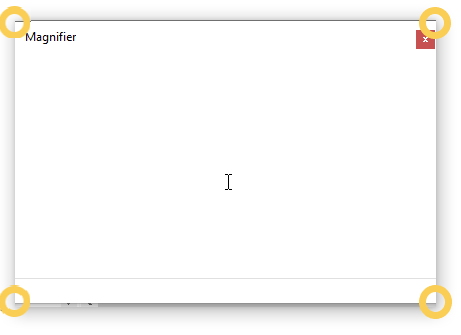
You can’t see the cursor in the magnifier window.
3. Press “PrintScreen” key or capture by Snipping Tool
Press “PtintScreen” key and capture the display.
Paste the copied image and trim the target area in the Magnifier window.