[Tips]How to use Image for Normal map in Blender
GOAL
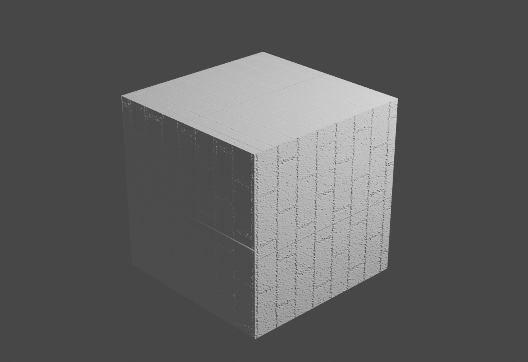
To create normal map from RGB image.
Environment
Windows10
Blender 2.8a
Method
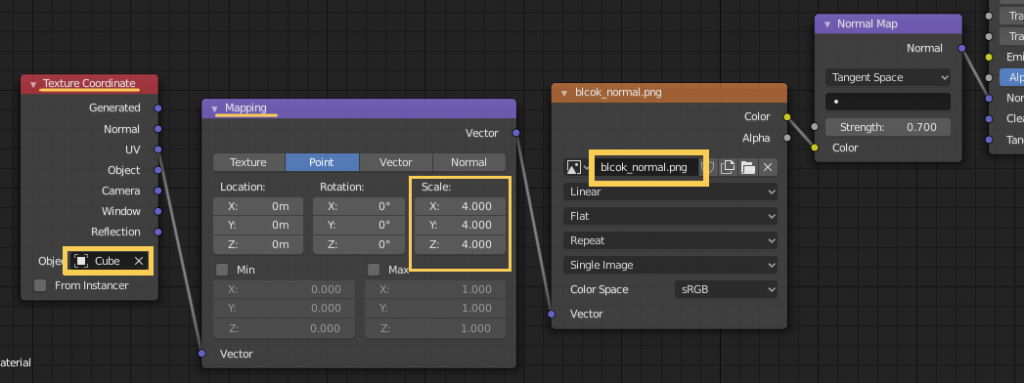
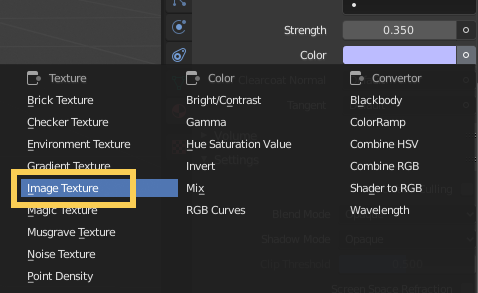
Create new Principled BSDF material.
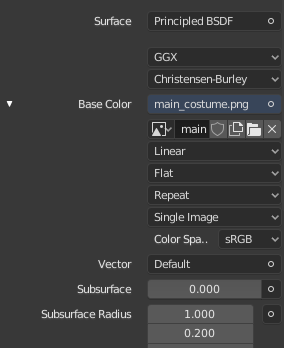
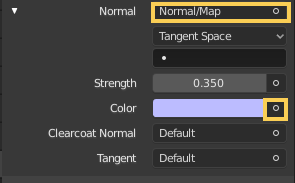
Set “NormalMap” to the parameter “Normal”. And set “Image Texture” to the parameter “Calor”.
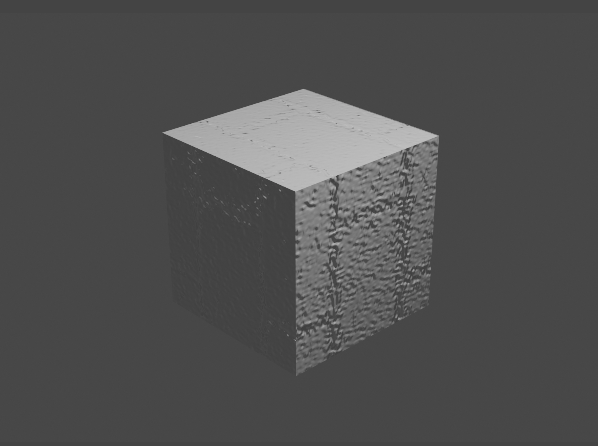
Open and select normal map to apply.

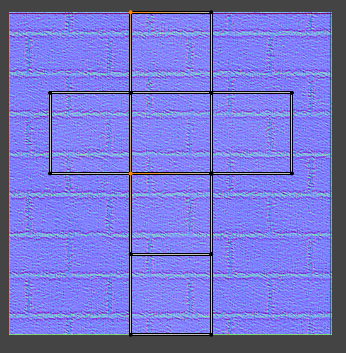
Open UV editor and adjust the UV Mapping.
You can use Nodes to change the scale of input image.